How to Fit a Concealed Shower Valve (Step-by-Step Guide)
If you’re constantly bumping into your shower’s exposed valve but aren’t sure how to go about changing it for a more minimalistic look. Consider switching to a concealed shower valve.
Concealed shower valves are popular in new bathrooms and are a sign of the times for minimalistic bathrooms. With some good fortune, this job can be relatively straightforward. However, if this job is looking to be difficult due to awkward pipes or living in an old property, we recommend advice from a trained professional.
Firstly, a list of items you will need to fit a new concealed shower valve:
- Plasterboard
- Timber Studs
- Spanner
- Wrench
- Drill
- Your new shower valve
- Silicon
- Level
Once you’ve got everything you need, you can get started.
1. Prepare Your Water System
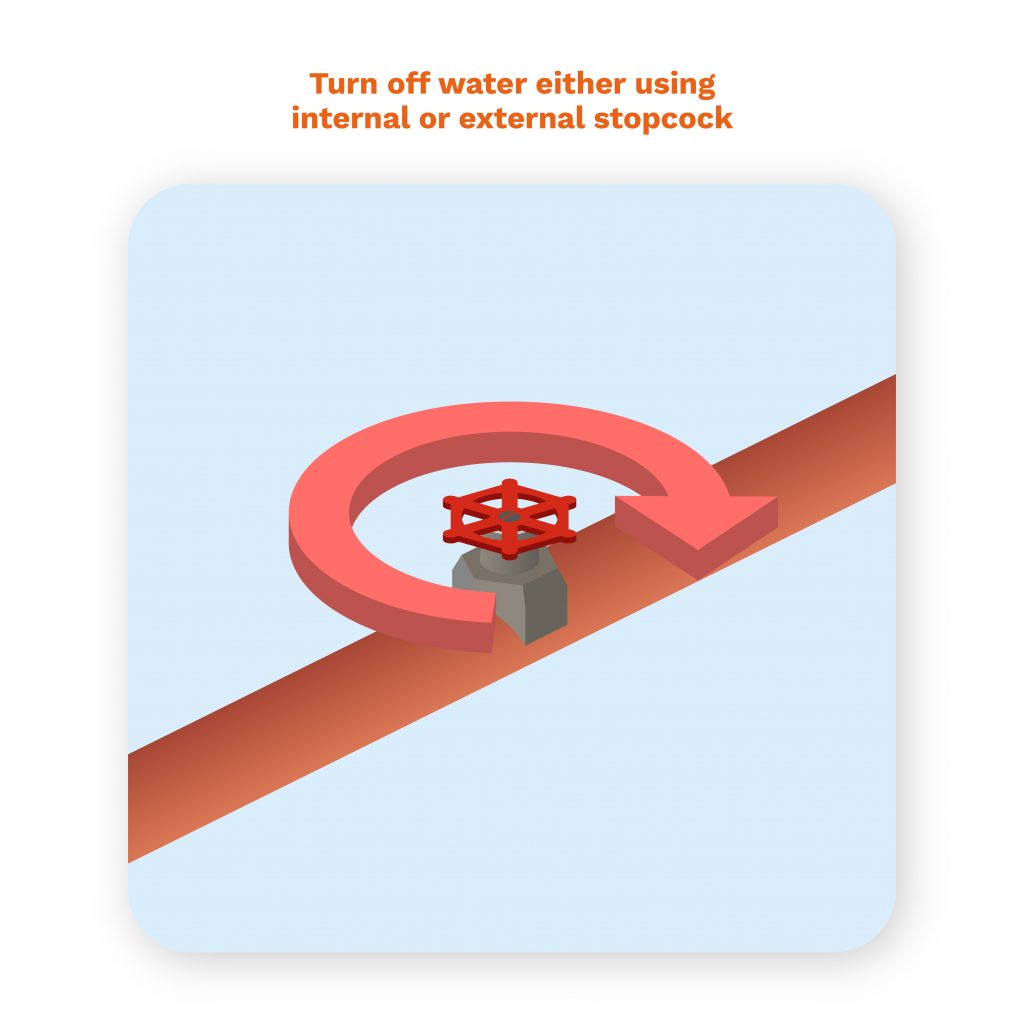
To avoid any serious water problems when fitting a concealed shower valve, it is pivotal that you turn off your water supply and empty out your home’s water system before attempting this task.
To turn off your home’s water supply, you first need to locate your stop valve. Every home is different, and if you live in a previously owned home that has been renovated, it may be in a precarious position. Usually, your stop valve could be located in one of the following locations:
- Under your kitchen sink
- In an airing cupboard
- In a downstairs bathroom
- Under floorboards by the front of your house
- Under the stairs
- In the cellar/basement
In rare cases, your house may not have an internal stop valve, if this is the case you will have to access your external stop tap, which should be near the boundary of your property identified via a ‘W’ symbol on a small cover, about the size of a CD case.
It can also be located:
- In the same area as your water meter
- At the end of your road. This is if your house is old and you share a water supply with your neighbours
Once you have turned off your water supply, and the risk of any flooding has been removed, you can move on to the next step.
2. Measure A False Wall
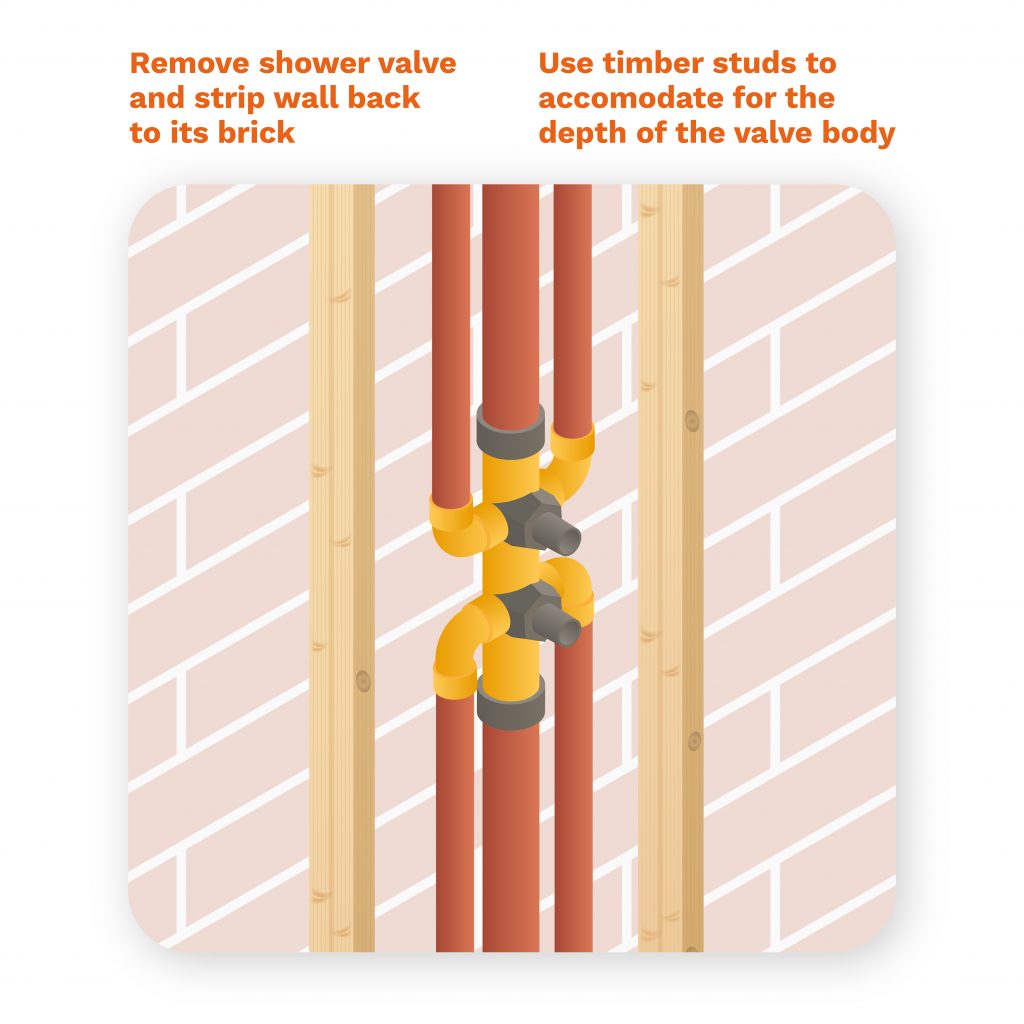
Now your water is off, you can get started on removing your current shower valve. Once that has been removed you will want to strip the wall behind it, all the way down to the brick. When it’s all stripped down, and your brick wall is exposed, you can map out your false wall.
As the brick wall does not allow the valve to be sunk into it, the valve is instead attached to the face of the wall, which will need to be studded out with timber studs to accommodate the depth of the valve body, which will be hidden when the job is completed.
In your measurements, you will need to include where the following will go:
- Channels to house your hot and cold water supplies
- The concealed mixer valve
- Pipe to shower head
3. Route Your Plumbing
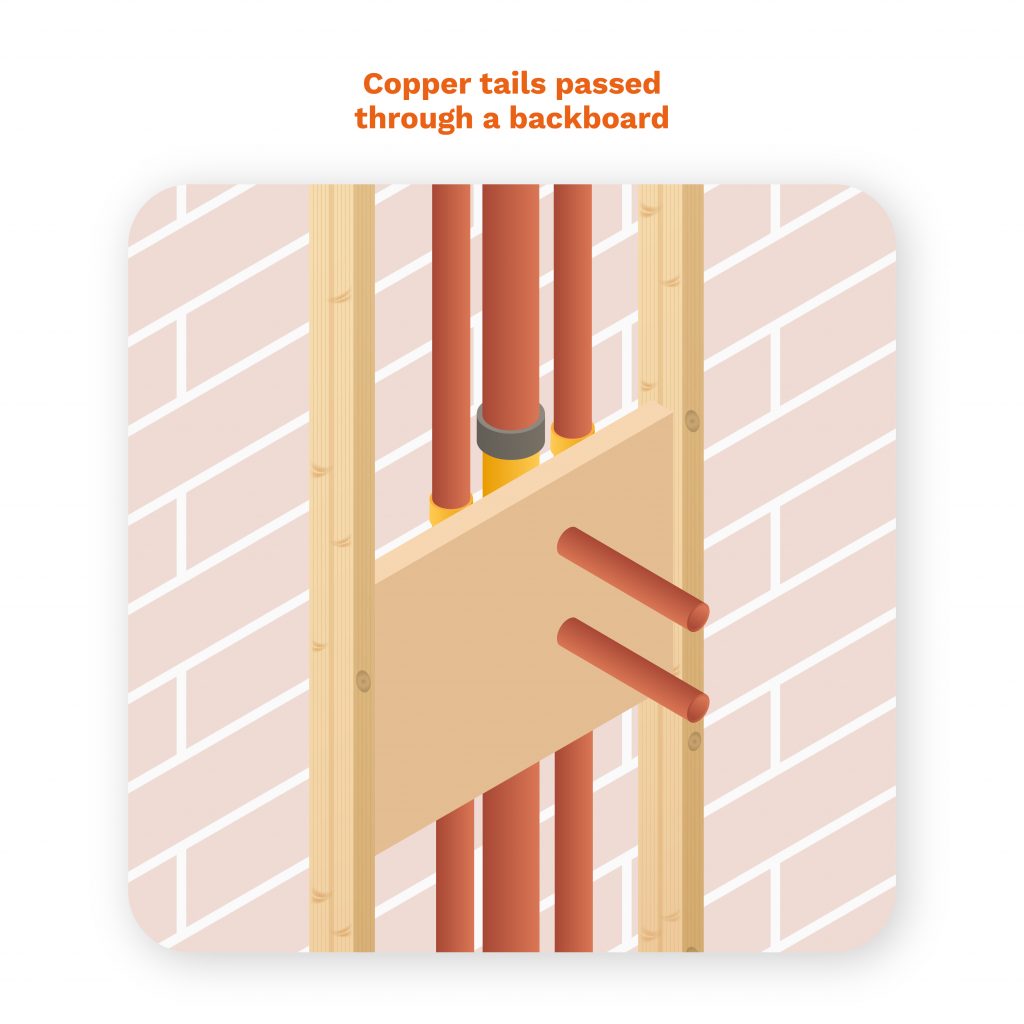
Place your hot and cold pipework going up along the wall and up your false wall. These pipes will then go into your mixer valve, and from your mixer valve the pipes go through the masterboard to the control panel. Your copper pipes that will be on your concealed valve will stick out of the plasterboard ready for your new control panel.
The same goes with your pipe for your showerhead, it follows the false wall upwards and comes out of the plasterboard where you measured it to.
If the hot and cold pipes for your shower are being used as a route to a bath or a sink, you will need to install T-junctions for your hot and cold feed, if your previous piping did not already have them installed.
Next, make sure that your copper tails and pipes pass through the backboard to help keep them in place when it comes to placing plasterboard over them.
4. Stabilise Your Pipework
The last thing you want when installing a concealed shower valve is to finish the job and realise you haven’t stabilised your pipework. Pipework that has been left previously unstable can cause a metallic rattling sound whilst showering, and can lead to more serious issues down the line if not treated properly.
When installing a concealed shower valve you want to ensure that all copper and plastic parts are unable to move. So, before installing your plasterboard wall, use proper pipe clamps for your pipes and be sure to check that everything fits snugly and everything is tightened properly. Some valves can come with their own concealed valve mounting brackets, so if that is the case make sure you use them, as these will have been made with your project in mind.
5. Install Your Plasterboard Wall
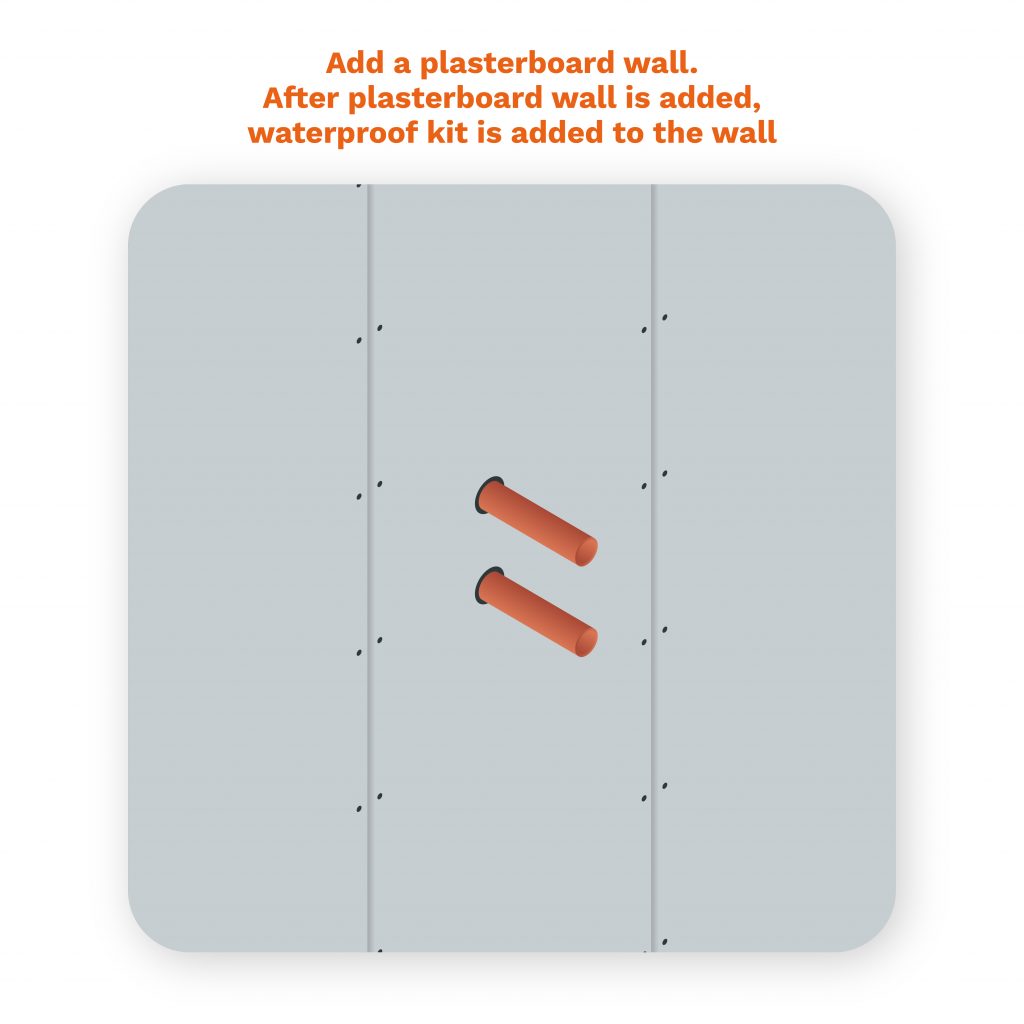
Plasterboard is a popular choice for use in a concealed shower valve installation due to its quick and relatively easy installation. Since you’re dealing with wet areas of your house, you should use green moisture plasterboards as they are designed to be fitted in bathrooms and other areas of your home prone to water.
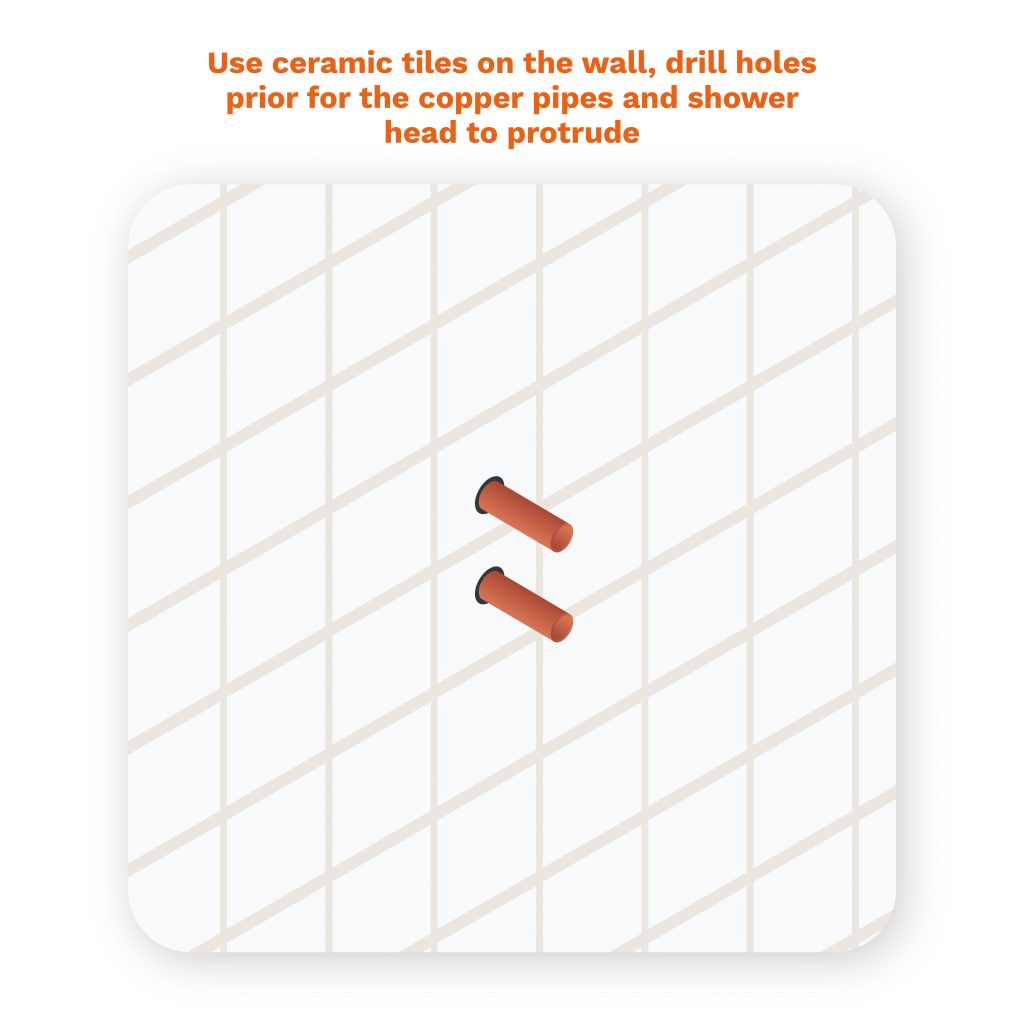
When fitting your plasterboard you will need to drill holes where the shower head and copper pipes will protrude from. It’s also a good idea to further waterproof your plasterboard with a waterproof solution, for peace of mind.
6. Concealed Shower Valve Installation
Once you have installed your plasterboard wall and are satisfied that everything is in working order, you can finish the plasterboard wall with stylish wall tiles or wall panels. Whatever your bathroom style may be! If you use tiles you’ll want to make sure they are grouted once the adhesive is dry. Make sure all gaps and holes left over are filled with silicon, and if you’re content you can move on to finish the job.
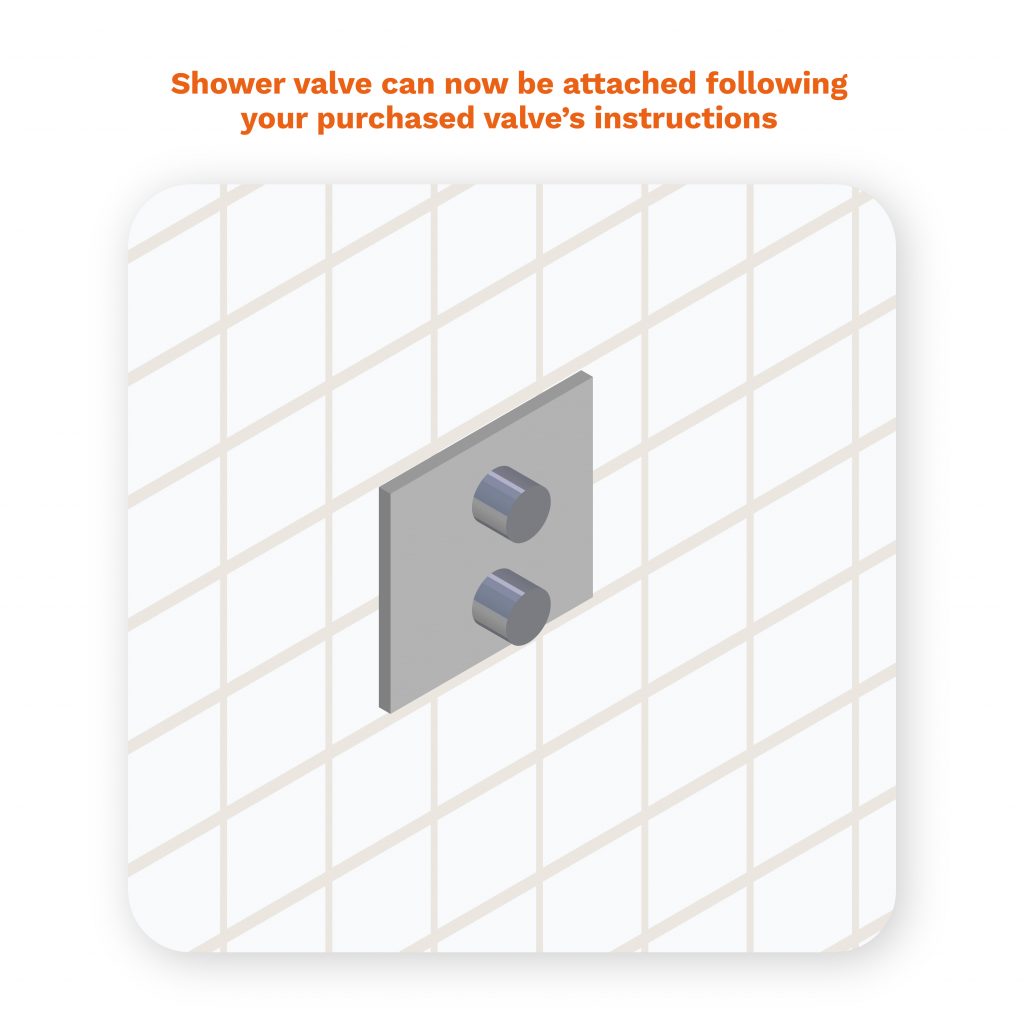
Once you’re happy with how the tiles look, and everything seems to be working fine, you can follow your valve manufacturer’s instructions to fit your concealed shower valve. Some valves will be different from others but a shower valve fixing kit should help get the job done.
Once your shower valve has been fitted, and you're happy with everything so far. You can turn the water supply back on and enjoy your new concealed shower valve.
There is our step by step guide to fitting a concealed shower valve.
Free Advice
If you’re struggling with advice regarding fitting concealed shower valves, ring our dedicated experts on 0800 112 3134 or 0333 577 3134.
We’re open Monday to Friday 07:00 - 17:30 and Saturday 08:30 - 12:30.


