How to Install a Shower Tray
Shower trays are an essential part of your shower and while it’s important to have a well built shower tray, if it’s installed incorrectly it can be rendered useless!
Installation or replacement of a shower tray is generally considered as a medium to moderately difficult task, although this task can be tricky, someone with decent experience in DIY should have no problem following our step-by-step guide. In this guide we will look at:
-
-
-
-
-
- Types of shower trays
- Shower tray sizes
- Shower tray height
- What tools do I need?
- How to install a low profile shower tray
- How to install a height adjustable shower tray
-
-
-
-
Types of shower trays
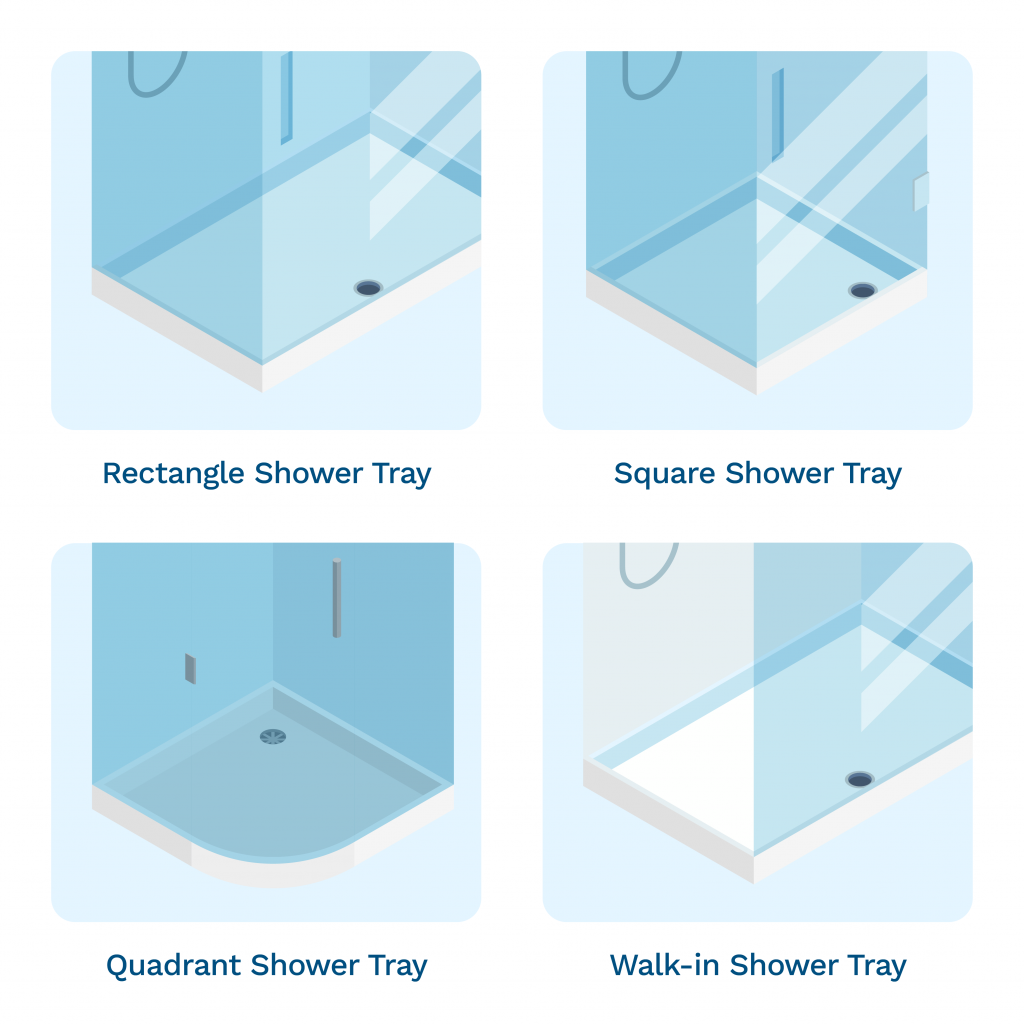
Shower trays come in a range of types, shapes and sizes to fit whatever shower enclosure you have. Some types of trays are:
-
-
- Rectangular tray: Offers the most space and are commonly used with sliding shower doors.
- Square tray: These can be used with a range of shower doors e.g pivot and bi-fold enclosures.
- Quadrant shower trays: These feature a curved front and they can fit into the corner of the bathroom.
- Walk-in shower trays: These types of shower trays are designed to pair with a walk in shower, they can provide a wet and dry section.
Obviously you’ll need to buy a shower tray based on your type of shower enclosure. Any issues or reservations you have about what type of shower tray to buy, always consider buying a single package that includes the full enclosure including the tray.
-
-
Shower tray sizes
Shower tray sizes can vary depending on which type of shower tray you are looking for and which shower enclosure you have or plan on buying. Walk-in and rectangular shower trays may start at 1000 x 800mm and be as large as 1400 x 900mm, whilst quadrant shower trays usually only come in 800 - 1000mm sizes.
Shower tray height
Before we go deeper into the step-by-step guide, it’s pivotal to know whether you’ll be fitting a low profile tray or a height adjustable tray, as their installation methods differ slightly.
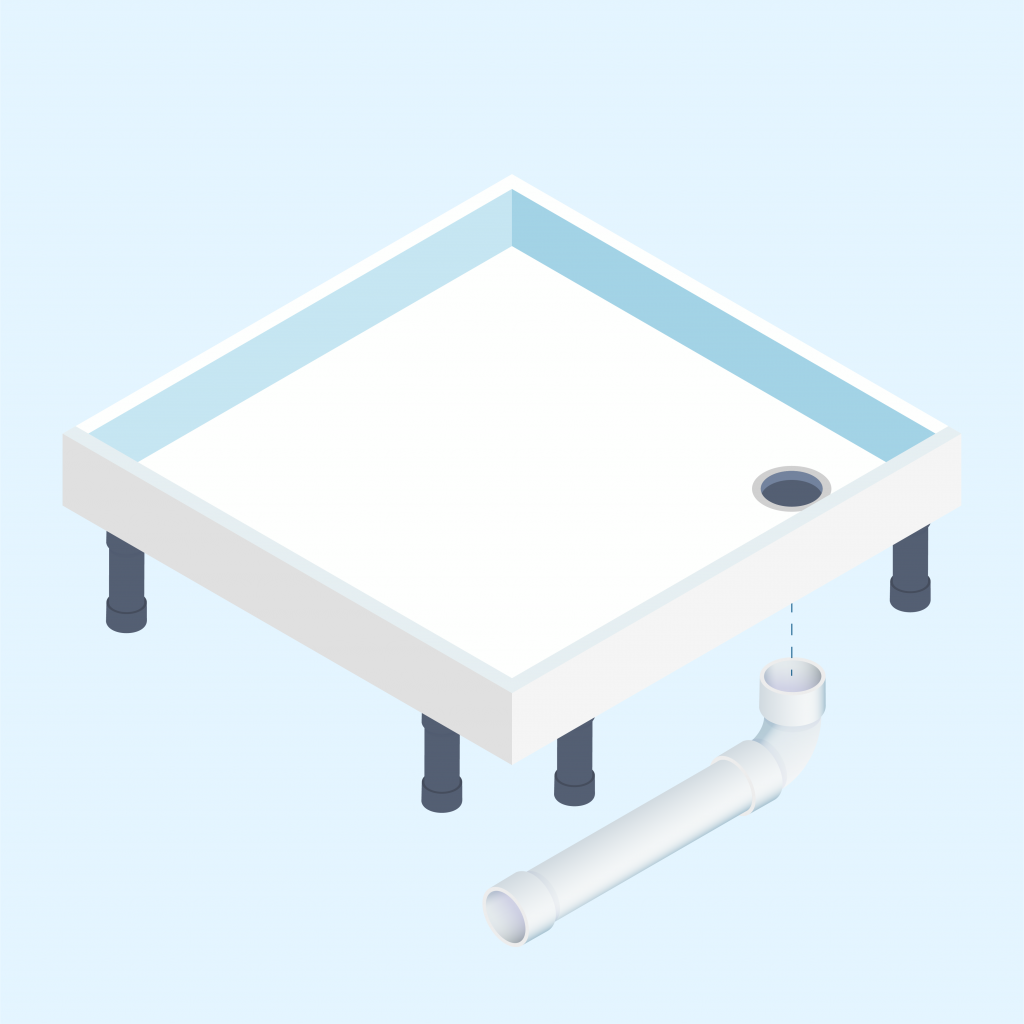
Height adjustable shower trays use legs which are under the tray, raising the platform. This type of tray is popular as it allows easier access to pipes.
Low profile shower trays are fitted directly onto the floor which can create a neater look.
How to install a height adjustable shower tray
Step 1 - Attach the adjustable legs
Firstly, place the tray where you want to eventually install it to check for any issues with the way it will fit. Screw the legs into position and adjust the height to the level you require at this point. Check the shower tray waste lines up correctly.
Step 2 - Fitting the shower tray waste
If you’re happy with the way it fits, you then need to establish the best possible route for your waste pipe if this isn’t already in place. Attach the waste to your tray then connect this to the trap.
Step 3 - Position the shower tray
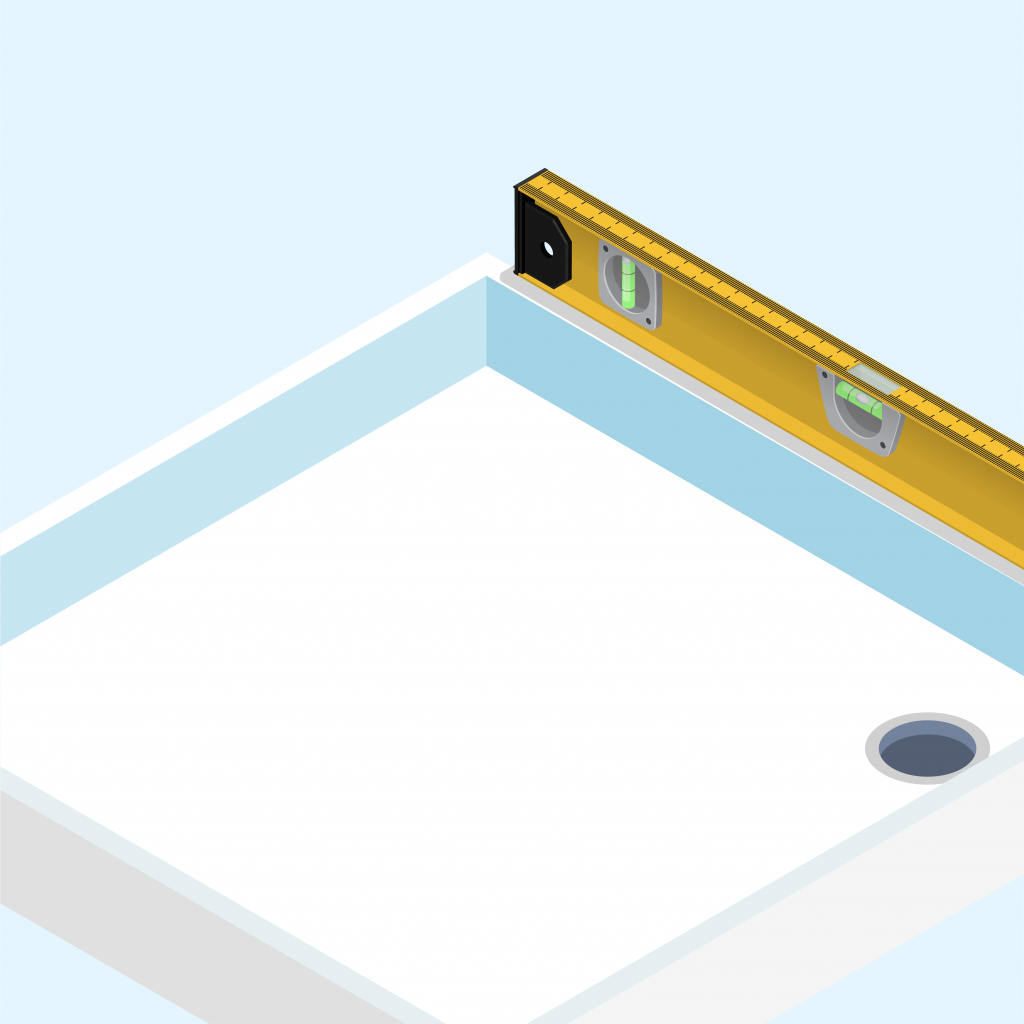
You then need to use a spirit level to make sure that the tray is completely level. If the tray isn’t level, this can cause you quite a few problems when you come to take a shower.
Step 4 - Connect the waste to the outlet pipe
With the shower tray level, it’s time to attach the underside of the waste to the waste outlet pipe. This needs to be as secure as possible so make sure everything fits tightly, and double check there’s no gaps or leaks. A good way to check for leaks is to use a kettle and pour some water into the waste. It’ll be clear if something is wrong.
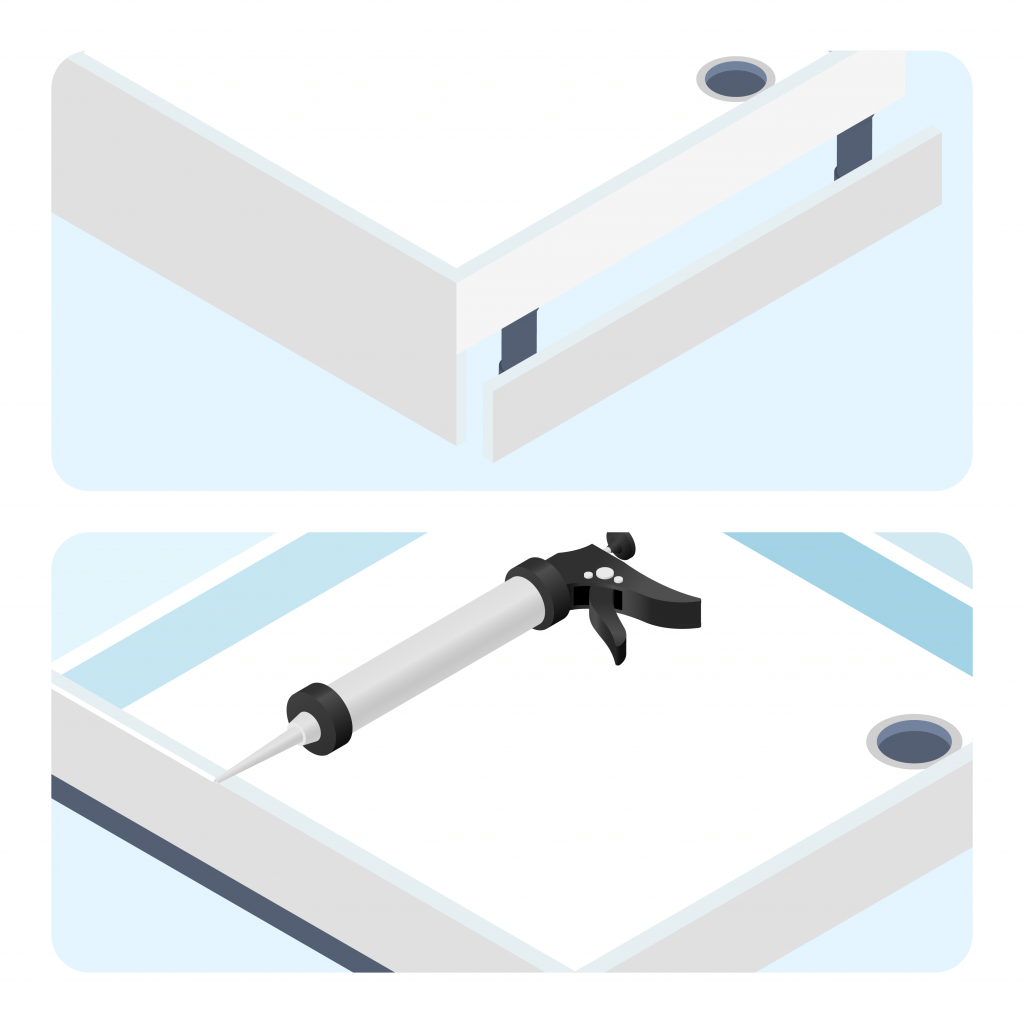
Step 5 - Attach the panels
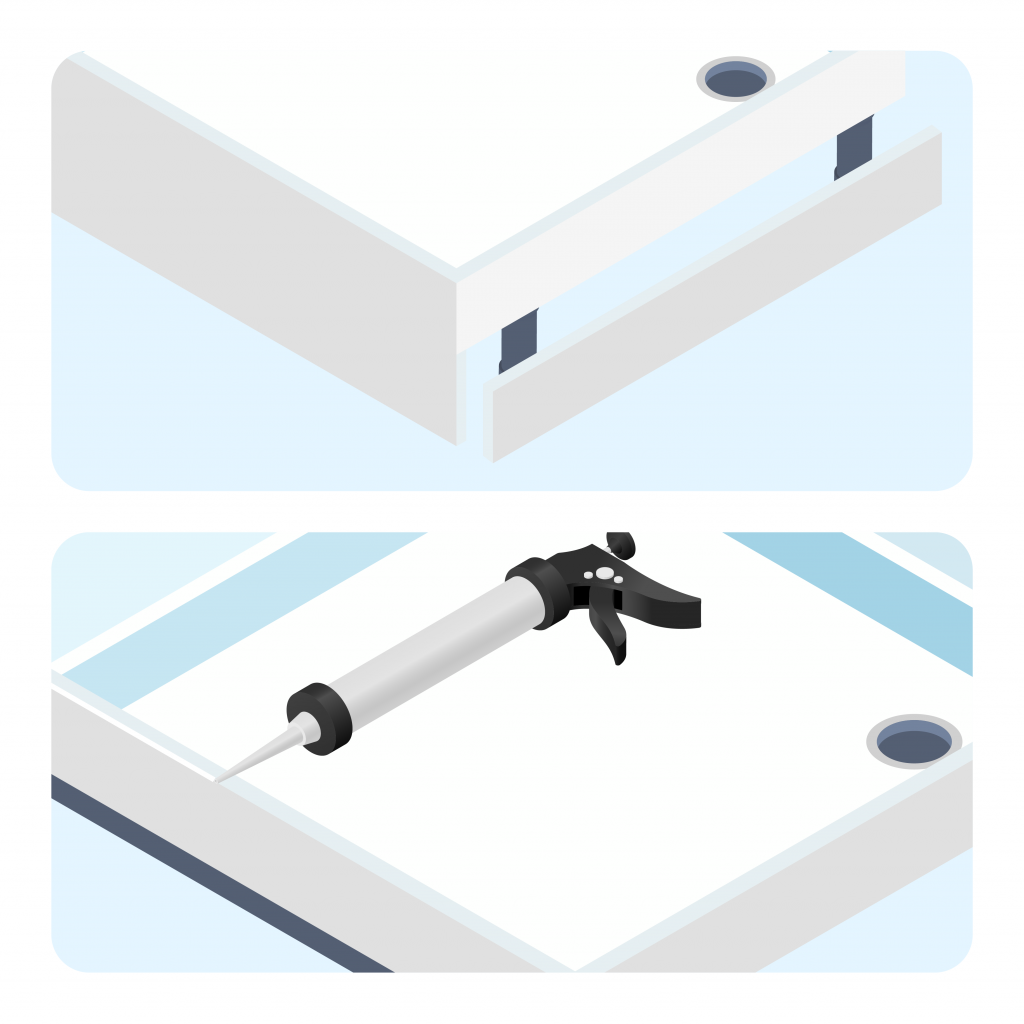
Attach your shower tray side panels to the tray to create a neat look. These are typically easy to attach, just read the instructions that come with the product closely.
Step 6 - Seal around the edges
Complete your shower tray installation by sealing around the edges with silicone sealant and a sealant gun. Also seal the sides and the join between the panels and tray.
How to install a low profile shower tray
Step 1 - Make sure floor is firm
Before you start, you need to make sure that the floor beneath the tray is capable of supporting it. It needs to be completely firm, with no flexibility as this can cause problems. Mark out with a pencil where the tray is going to go.
Step 2 - Cut access hatch
You’ll need to cut out an access hatch in the floorboards next to the tray as this will allow you to reach the waste. A jigsaw is the ideal tool for this as it’ll allow you to be more precise with your cutting.
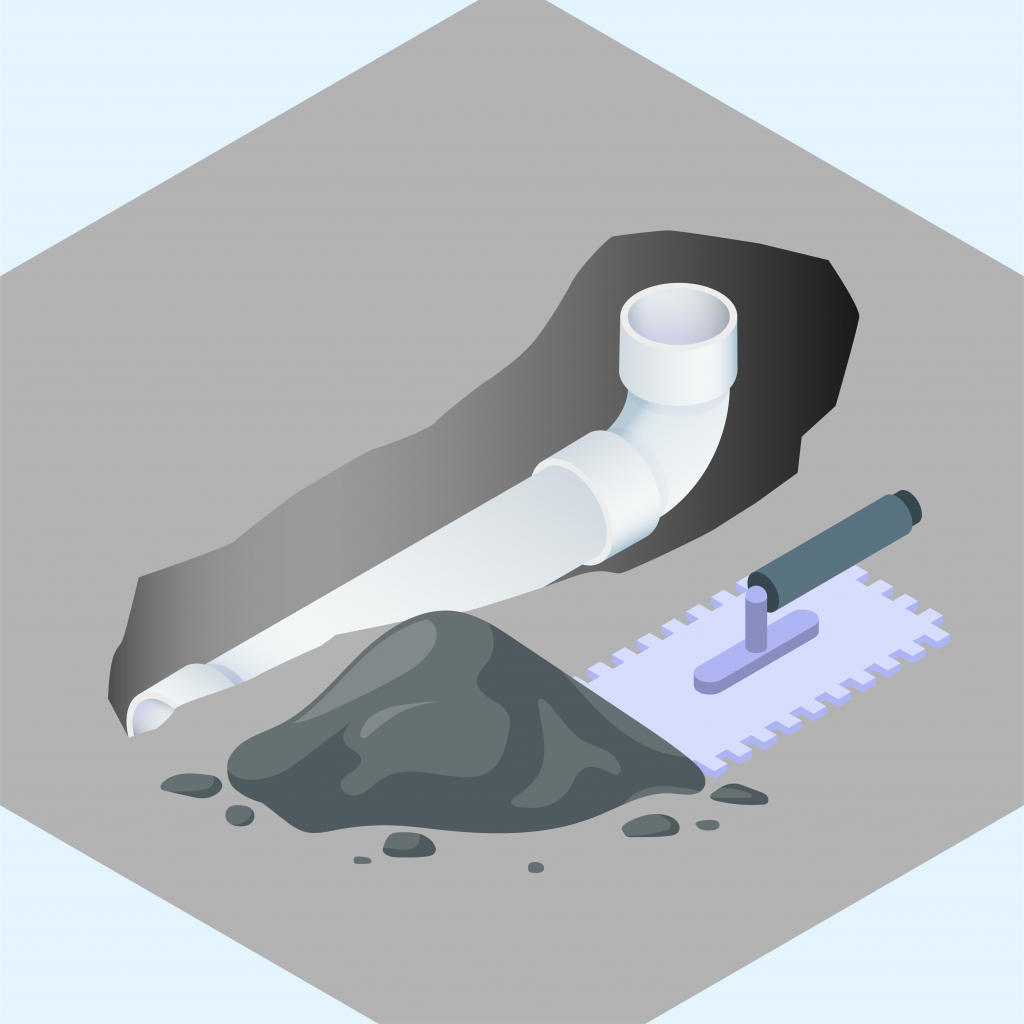
Step 3 - Cut a hole for waste
A hole will also need to be cut for your shower tray waste so take some accurate measurements and very carefully start creating the space you need. Once this is done you can go ahead and assemble the waste itself.
Step 4 - Make mortar and apply thin layer
Now it all gets a bit messy! Using a mixture of building sand and cement (5 parts sand, 1 part cement), mix up some mortar and apply a relatively thin layer to the area beneath the tray. Gently press the tray onto the mortar before using a spirit level to check everything is as it should be. Once you’re happy, allow the mortar to dry for a 24 hour period.
Step 5 - Connect shower tray together and seal
Use the hatch you made earlier to connect the waste trap and outlet pipe together (this can also be used later if you need to do any maintenance) You can now apply silicone sealant around the edges of the tray to finish things off.
So there you have it. Your step-by-step guide to installing a shower tray. Because installation or replacement of a shower tray is generally considered as a medium to moderately difficult task, it doesn’t mean you can’t do it yourself. However, if you are unsure about anything, to prevent causing any damage, you should always seek professional help.
Free Advice
If you’re struggling for advice regarding fitting a shower tray, ring our dedicated experts on 0800 112 3134 or 0333 577 3134. We’re open Monday to Friday 07:00 - 17:30 and Saturday 08:30 - 12:30.


